Showing posts with label sink. Show all posts

Sunday, April 1, 2012

The New "To-Do" List

Well, about that wind turbine...it doesn't work yet. BA is still toying with it, but with summer coming up, we're going to need some air conditioning soon. So, we called Pedernales Electric Corp., and they sent out two great guys (Mike and Toker) to assess our build site for an electric pole. I know, we weren't planning to go on the grid, but sometimes you just have to compromise. There will come a time when BaHa Ranch runs strictly on wind and solar power, but that time is not now. If the powers that be had more sense, it would be cheaper to build a home that utilizes green energy. But as I said, the guys from the PEC were super-nice (Toker gave the doggie lots of love and referred to her as an "old hound dog," which I think made her very proud =) and the PEC seems like a good, honest company. 


So, here's some "To-Do"s:  

  • Get electricity. Because it's already hot. And this is Texas - it won't be cool again until December.
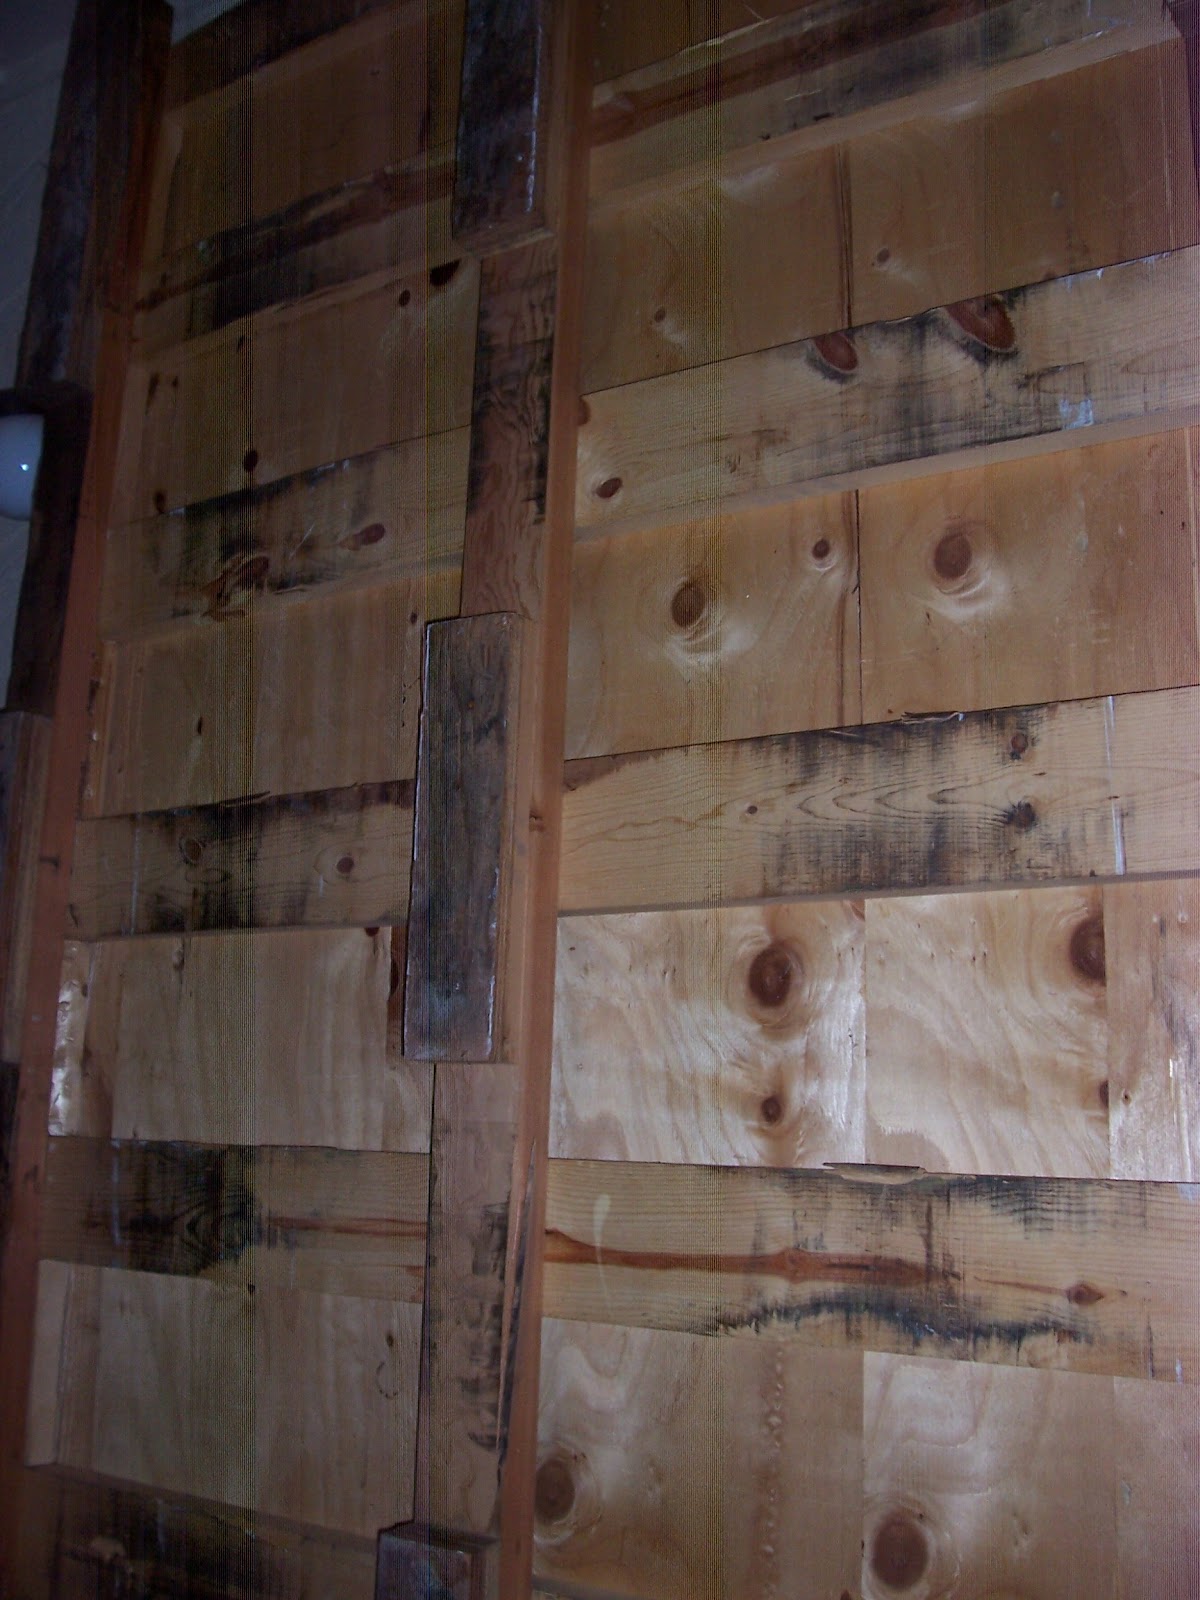
  • Blow in the insulation (we got dry cellulose insulation - you have to drywall completely first, then cut a little inconspicuous hole and blow the insulation in with a machine.)
  • Install the glass windows into their metal frame.
  • Hang curtains. Put down some throw rugs. Hang up a picture or two.

Free curtains, tablecloth, and throw from my mother-in-law, who is awesome =)
The little streak of electric blue in the top two pieces is what I want to bring out -
I might paint a whole room that color!


And I think the linens above will go great with orange.
  • Hang some insulating curtains over the metal end doors.
  • Install our big wooden door.
  • Finish the bathroom:

My mother-in-law's garage is the best store ever. This shower curtain
will go nicely with the blue and tan tiles in the bathroom.

Not sure if you can tell from the picture, but the blue tiles have several shades
 of blue, along with grey and orangey streaks and some yellow/gold splatters.

This creamy tan-yellow color will cover an accent wall in the bathroom. 
I might also paint the bathroom door with it.

After that, we'll have to tile the shower and install the plumbing (which is going to have to include a larger rain-catchment system). You may notice that the bathroom has no sink - for now, BaHa Ranch will have only one sink, which is located around the corner in the kitchen. You might also wonder about the toilet. Where the heck is it??? It's in a box, waiting to be opened - it's a chemical toilet like the ones used on boats and in RVs. "Chemical" and "Green living" might not seem like two words that go together, but honestly, pooping in clean water doesn't make much sense either. And the chemical toilet is not permanent - we will eventually move to a toilet that hooks up to a septic tank and flushes with greywater (our first preference) or a composting (sounds smelly) or incinerating (sounds scary) toilet. 

And that's probably more than you ever wanted to know, right?

Friday, March 30, 2012

The Kitchen Sink


 It's greywater time! After thoroughly studying Art Ludwig's book on
 greywater, I went on to explore the unpleasant realities of digging a ditch in limestone-filled clay in 97-degree weather. It wasn't pleasant, but I was determined!

Here's what I started out with. Me and shovel vs. crazy-hard ground.

Here it is! A greywater ditch (I made this =)


After a day of digging, and a night of rain to make sure I had good drainage at this spot, I filled my ditch with a layer of course sand, a layer of charcoal, a layer of small pebbles, and two layers of larger rocks. Before it was all said and done, I had switched from my shovel to a hammer and spade in order to crack the larger limestone rocks so that I could pull them out by hand. I also transplanted a couple of native plants to make it prettier (if these take off, I'll put more plants in there).

And every greywater ditch needs a source of greywater, I suppose, so I built a kitchen sink.


Had to wait for this wall to be finished to install it.


I used this Ikea table top (that we've had for years and years) and, after using a
screwdriver to make guide holes, cut out the shape of the sink with a saws-all. 


Then I sprayed on four coats of Rust-oleum to make it more water-resistant.
(The Rust-oleum was 1/2 price at Home Depot because the lid was missing.)


Then I put in the sink, screwed it in place with the hardware 
that came with it, and sealed the edges with caulking.


I made this =) 
Eventually it will drain out of a long pipe that I've already cut, through the wall, and into the greywater ditch.

I built the base out of 2x4 scraps, and the legs are made from trimmings that came from 2x6s. I'll post a better picture later, because here I was just testing it out - it's not even anchored to the wall in this picture. I put the sink and counter onto the base, added the drain thingy that goes in the bottom (secured with plumber's putty), figured out where all the pipes should go, and cut the pieces that I needed from a larger pipe with a hacksaw. 

You might also be interested to know where the water comes from. The sky, of course! From the sky into a rainwater basin (aka a kiddie pool), and then into one of those big, clear buffet tea containers with a spigot at the bottom. Then where does it go? Through the pipes, and for now, into a designated greywater bucket that I empty into the ditch by hand. 

Did you know that greywater is really grey? It is. Just thought I'd throw that out there.

Sunday, March 11, 2012

On the cheap...

Maybe I should just periodically make an updated post about all the cheap or free stuff that we've found! Our home design does change periodically because of the nature of our building methods: if it's cheap or free, we'll take it. It makes us especially happy if it has already been used.

Here are a few of our recent finds:


Used shower pan. $20 from Habitat for Humanity

Ikea sink. Bought new on clearance for $20

Used doors. Free for hauling away from Building Community's last build site

Wood. So much wood (this is only one of five, plus some thinner pieces).
This, too was free for hauling off from Building Community's last build site.

Small tiles. Left over from our first house
(but we recently found them in the bottom of a box, so I'm counting this as a recent find)

Large tiles. $10 for a box of 13

Not pictured but recently purchased: Two gallons of grey porch paint for the interior USB (Ha! I meant OSB) floor at $6/gallon (I'll show you pictures of what I did with it after I'm done.)

That's all for now! I want to take a minute to say a special thanks to Building Community. This is an awesome non-profit organization that renovates inner-city structures and does special build projects for other organizations. When we were at their build site, they were finishing up a cute, colorful garden shed for a community garden in Oak Cliff. You can see the shed in the first few pictures on their website. It's the one with the multicolored plastic tiles and slanted roof. The materials that we took from them were basically scraps from other building projects that needed to be moved off the build site. And we are grateful for every bit of it!