Saturday, March 31, 2012

Floors and the Great Outdoors

Over spring break, I painted the floor, which is new OSB over the original metal sub-floor.

"Storm" by Benjamin Moore - this was my $6/gallon paint from Habitat


I think I painted myself and my clothes as much as I painted the floor...


I was much more careful when I stained the deck, thanks to the copious warning labels.
We found this tinted, waterproof stain in the "oops paint" at Lowe's for $5.00, reduced from $35.00!

BA actually did have a reason to be on the roof - he's bolting the metal to the internal wooden frame.

Then (industrious guy that he is) he started building another shed.


This shed and the new deck are made from the wood that Building Community gave us.


They also gave us the white door. Very sweet people!


Gave me flashbacks to being in Professor Synar's sculpture class (in a good way).
She's the person who taught me how to turn old pallets into usable wood.
(These pieces will be sanded and stained to make decorative wooden tiles.) 

The future front door (and some other stuff)

You might also notice a folding door hardware kit leaning against the door above. I used this kit (which came with absolutely no useful instructions) to take two used 1/2 doors and turn them into a single, hinged folding door for the bathroom. I need to clean it up and paint it, then I'll post a picture. I did change the knobs already (they were brass. ick.) by painting a couple of extra drawer pulls and screwing them onto the door. 

Friday, March 30, 2012

The Kitchen Sink


 It's greywater time! After thoroughly studying Art Ludwig's book on
 greywater, I went on to explore the unpleasant realities of digging a ditch in limestone-filled clay in 97-degree weather. It wasn't pleasant, but I was determined!

Here's what I started out with. Me and shovel vs. crazy-hard ground.

Here it is! A greywater ditch (I made this =)


After a day of digging, and a night of rain to make sure I had good drainage at this spot, I filled my ditch with a layer of course sand, a layer of charcoal, a layer of small pebbles, and two layers of larger rocks. Before it was all said and done, I had switched from my shovel to a hammer and spade in order to crack the larger limestone rocks so that I could pull them out by hand. I also transplanted a couple of native plants to make it prettier (if these take off, I'll put more plants in there).

And every greywater ditch needs a source of greywater, I suppose, so I built a kitchen sink.


Had to wait for this wall to be finished to install it.


I used this Ikea table top (that we've had for years and years) and, after using a
screwdriver to make guide holes, cut out the shape of the sink with a saws-all. 


Then I sprayed on four coats of Rust-oleum to make it more water-resistant.
(The Rust-oleum was 1/2 price at Home Depot because the lid was missing.)


Then I put in the sink, screwed it in place with the hardware 
that came with it, and sealed the edges with caulking.


I made this =) 
Eventually it will drain out of a long pipe that I've already cut, through the wall, and into the greywater ditch.

I built the base out of 2x4 scraps, and the legs are made from trimmings that came from 2x6s. I'll post a better picture later, because here I was just testing it out - it's not even anchored to the wall in this picture. I put the sink and counter onto the base, added the drain thingy that goes in the bottom (secured with plumber's putty), figured out where all the pipes should go, and cut the pieces that I needed from a larger pipe with a hacksaw. 

You might also be interested to know where the water comes from. The sky, of course! From the sky into a rainwater basin (aka a kiddie pool), and then into one of those big, clear buffet tea containers with a spigot at the bottom. Then where does it go? Through the pipes, and for now, into a designated greywater bucket that I empty into the ditch by hand. 

Did you know that greywater is really grey? It is. Just thought I'd throw that out there.

Thursday, March 29, 2012

From the windows to the walls

We needed a little help on a couple of projects. I'm a little too short to hold drywall overhead while BA attaches it to the ceiling, so we decided to hire a handyman (Justin) out of Austin for the day. He did such a great job with the drywall that we had him come back the next day to help tape and float (and to me, "tape and float" sounds like a magic trick, but actually refers to taping the seams between the drywall and the smoothing mud over them. Wouldn't "tape and mud" be more accurate?)


So, Justin's help freed BA up to do other things (like scare me 1/2 to death by climbing up on the roof):

Justin is the tall guy inside the box. And my crazy husband is,
of course, the guy on top of it. 

Justin advertises on Craig's List, so if you are in the Austin area and need someone who is dependable, pleasant, and a hard worker, we definitely recommend him. 

Another thing that we needed a bit of help with is welding. We found a great guy named Thadius at Happy Trails Metalcraft. You can visit their website here. Thadius did an amazing job. He talked to us about what we wanted, and then was careful to measure and cut a neat, steady square so that we could use the cut-out metal as a shutter. We really lucked out in finding TWO good workers on this trip, and would recommend Thadius as well!

Here's what he did:


The sparks were flying! I was outside on fire watch.

A nice perforated square

The square begins to open...

We have a window! (That's Thadius on the right.)

And a window frame!

And an awesome, one-of-a-kind shutter!
The really cool metal window frame that you see in the above picture, while welded in place by Thadius, was custom-built for us by one of our neighbors. He makes some incredible furniture and fire-pits out of metal, but I forgot to ask his permission to include his name or website on here (I'll do that soon, because he makes some beautiful stuff that ya'll will love!)


Wednesday, March 28, 2012

Progress, y'all!

We made some major progress over spring break. Here are a few of the things we did:

The ceiling - we were just going to paint inside and out with insulating paint until we spent one stormy night in the box. I've never tried to sleep inside of a drum set, but I think the two experiences would be quiet similar.  So, here's the ceiling and what we did to it:

Bare metal ceiling

Tuesday, March 13, 2012

Blowin' in the wind - Part II

The windmill is still not finished, but we did a little more work on it recently. Or more accurately, BA and Dad worked on it while Granny and I had a nice visit.

Here's what they did:
Using the belt sander at Dad's shop to smooth down the blade edges

Close-up of the belt sander in action


The growing pile of windmill components
After we got back home, Ba started painting the windmill components. Pretty!


And since this is relatively short post, I thought I'd also include some pictures of why you might not want to start building a house while still living in an apartment. Here you go:

Why make the bed when your bedroom is full of wood?

Good luck having a cup of coffee on this balcony...
That's all for now! 


Monday, March 12, 2012

Rearview Mirror

The clock is ticking. The countdown is on. We will soon be gone from this place (not existentially - I'm just referring to the move from city to country). Will things look clearer in the rearview mirror? Will we be homesick for a place that was not originally home to either one of us?

I've lived in this city since 1999. I've moved repeatedly, and have lived in seven apartments and one house, but I've stayed in this general area. I was happy to get here, but the city has served its purpose. BA and I met at our church. I saw him walking through the parking lot, thought that he was really cute, and wondered how I'd ever find him inside the building (it's a megachurch with 10,000+ members.) Miraculously, the usher sat me right in front of him, and after the service, he gave me his number. Even if that had been the only reason for me to move here, it would have been worth it.

Reasons that I will miss living here:

  1. Our church
  2. Our friends and the few family members that live nearby (although a lot of them have moved or are moving too)
  3. A sushi restaurant on every corner
  4. American Airlines Arena, where I can watch the Sharks beat the Stars (hey, it's happened before, it can happen again!) Like last night (April 3rd)...they won 5 to 2...we were there...yelling our lungs out...Go Sharks!!! And thanks for the hockey puck =) You made our 9th anniversary date night awesome!
  5. The ability to walk to church, to the drugstore, the gym, a few restaurants and fast food places, the mechanic where we get our oil changed (just drop off the car and walk home)...basically, I'll miss the convenience of this location.    
  6. Variety. Choices. The ability to be picky about where I buy the groceries or which movie theater we go to. (We'll have choices where we're moving to, as well, but they will be far-flung instead of a few blocks apart.) 
I could also say that I'll miss the close proximity of great healthcare services and world-class doctors, but it really doesn't matter how close they are when you don't have insurance and can't afford to use them...


Reasons that I won't miss living here:

635 at 9:15 on a Saturday night.
Yep, it's a traffic jam. Any time,
night or day, this hwy sucks.
  1. Traffic!!!
  2. Loop 635 (Yes, it still pertains to traffic, but it's so bad that it deserves its own number. Especially now that it is under construction...) 
  3. I can't have chickens here. Anyway, where would I put them?
  4. I can get pretty much everything I need online, so who needs all these stores?
  5. BA can learn to make sushi rolls for me so that I won't have to drive to Austin to get them (though we'd probably have to order the seaweed online). I think this will save us some money.
  6. There are few things to do outdoors, most entertainment options are overpriced, and club culture here is touristy and focused on 20-somethings (whereas in Austin there is lots of LIVE MUSIC (totally worth the drive), and there are plenty of fun, cheap, and outdoorsy options to choose from in the surrounding area =)
  7. Noise. Even the very best of neighbors make noise. And if you do luck out and get some good neighbors, there's still no guarantee that they will stay put. You could have new noisy neighbors next month. 
  8. Silly, silly people with broken turn signals and a complete lack of driving etiquette (Alright, so that one also pertains to traffic, but again, deserves its own category.)


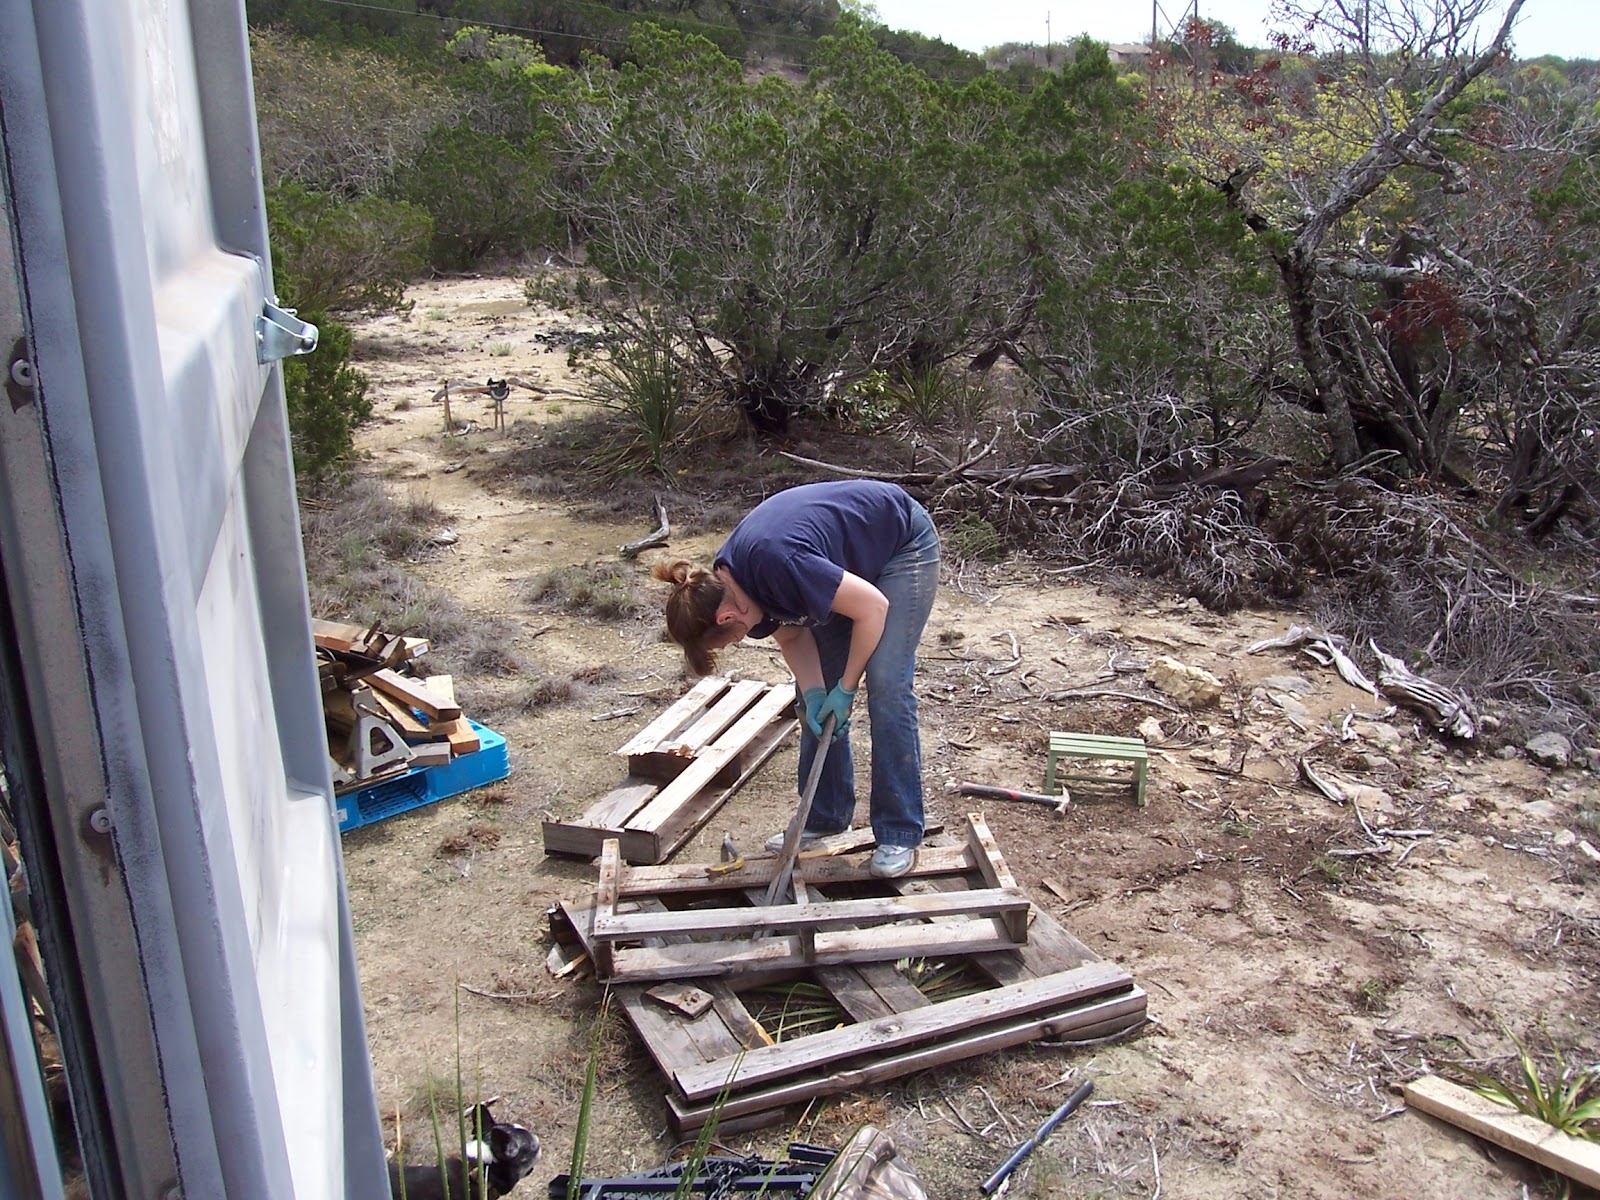
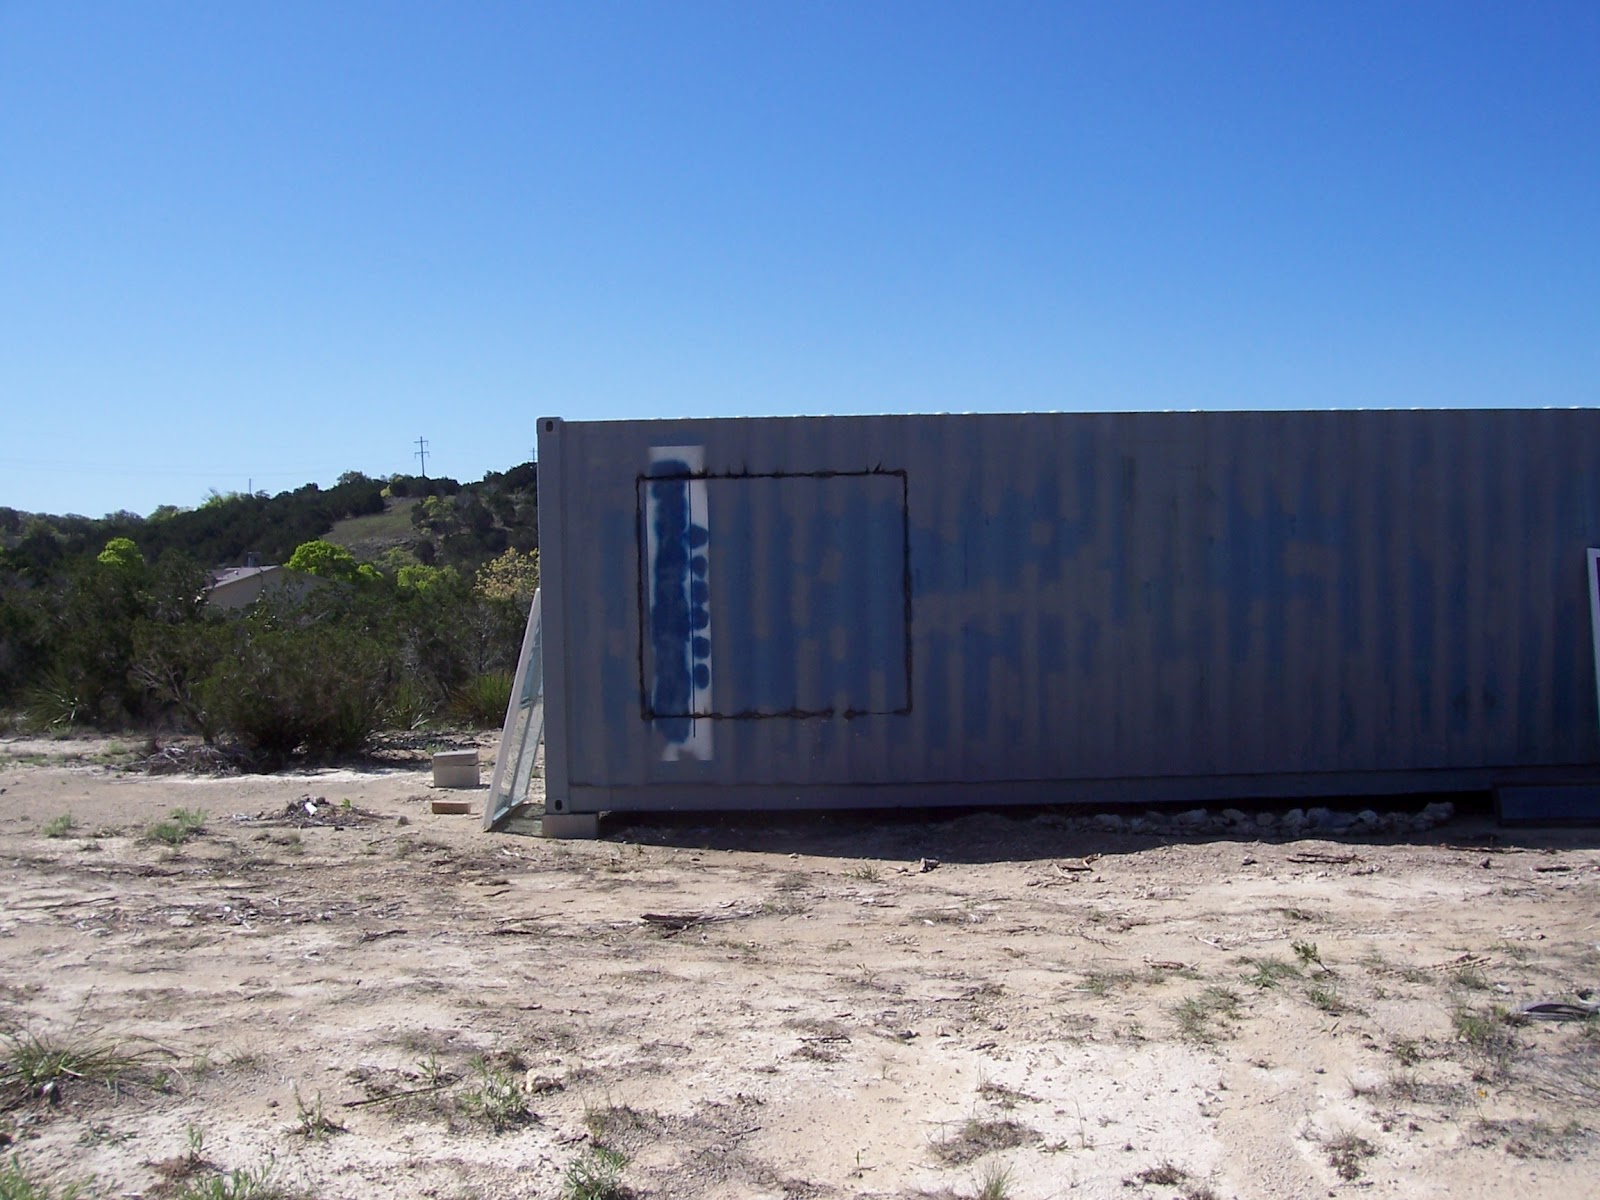
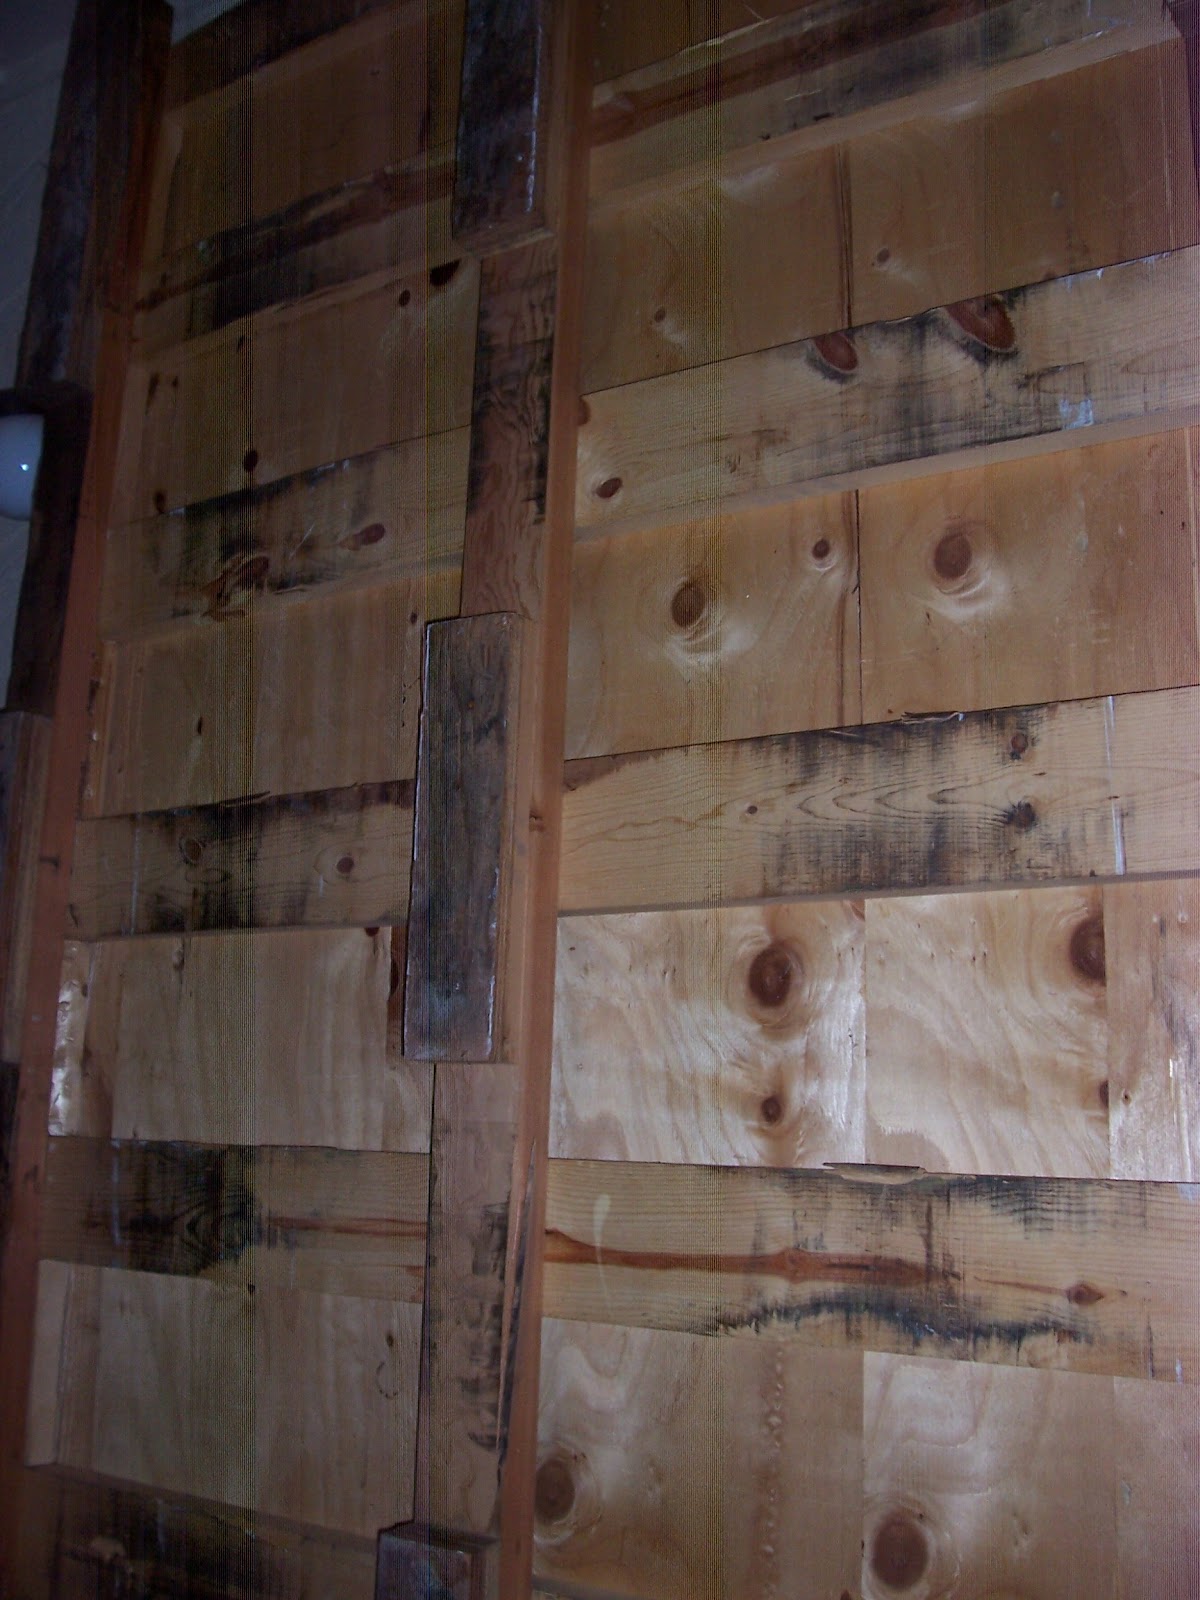
I think that's it. And I totally admit that this was a great place to live - it's just time to go. Going off the grid, collecting rainwater and utilizing greywater, recycling and re-purposing materials, building our way, buying local foods from local farms, living off the land to some degree...all these things will be so much easier in the country. And those are the things that we value most right now - being good stewards of the earth that God gave us.

(Side Note: I've never understood why most Christians and most conservationists seem to be in two different camps. If you believe, like I do, that God made the Earth for you, then why wouldn't you want to do your best to care for it, nurture it, and protect it?)

Sunday, March 11, 2012

On the cheap...

Maybe I should just periodically make an updated post about all the cheap or free stuff that we've found! Our home design does change periodically because of the nature of our building methods: if it's cheap or free, we'll take it. It makes us especially happy if it has already been used.

Here are a few of our recent finds:


Used shower pan. $20 from Habitat for Humanity

Ikea sink. Bought new on clearance for $20

Used doors. Free for hauling away from Building Community's last build site

Wood. So much wood (this is only one of five, plus some thinner pieces).
This, too was free for hauling off from Building Community's last build site.

Small tiles. Left over from our first house
(but we recently found them in the bottom of a box, so I'm counting this as a recent find)

Large tiles. $10 for a box of 13

Not pictured but recently purchased: Two gallons of grey porch paint for the interior USB (Ha! I meant OSB) floor at $6/gallon (I'll show you pictures of what I did with it after I'm done.)

That's all for now! I want to take a minute to say a special thanks to Building Community. This is an awesome non-profit organization that renovates inner-city structures and does special build projects for other organizations. When we were at their build site, they were finishing up a cute, colorful garden shed for a community garden in Oak Cliff. You can see the shed in the first few pictures on their website. It's the one with the multicolored plastic tiles and slanted roof. The materials that we took from them were basically scraps from other building projects that needed to be moved off the build site. And we are grateful for every bit of it! 


Saturday, March 10, 2012

On the level...

It doesn't look like much of a change.

You might not be able to see the change if we just took a picture of the side of Box 1.

But you can FEEL the change!

So what is it that we did?

Box 1 has been leveled! I can now drop a can of food or a bottle of shampoo without having it roll right out the end of the box! The new sense of equilibrium is astounding - getting out of bed and finding my balance will no longer be an issue. Oh, the simple pleasures in life!

Before: Front view (you really can't tell that it's tilty here, but believe me, it is...)


You can kinda tell here that the box tilts to the front and to one side.


After: Front/side view (It's not fancy, but it works for us!)

Friday, March 9, 2012

Blowin' in the wind: The making of a wind turbine

The answer is indeed blowing in the wind. So what was the question?

The question was: "How can we provide electricity to Box 1 while staying within our budget and off the grid?"

Wind power! BA has been hard at work researching construction methods and needed components for a home-made wind turbine. It's not done yet, but here are some pictures of what we've done so far.


This is a fan motor. It will be the motor that runs the turbine, and it will be attached to a flywheel.
BA got it free at a scrapyard and rewired it himself. 

This is the PVC pipe that will become the blades for the turbine.

This is BA cutting out the turbine blades from the PVC pipe, using a circular saw.

These are the blades. You can't tell from the pic, but there are three of them.
They are slightly curved with notches on the ends.
We'll be doing more work on the windmill over the weekend, so check back for "Blowin' in the wind Part II." If this concept works well to provide electricity for Box 1, we'll repeat the process on the future structures of BaHa Ranch. Alternatives would include buying a manufactured windmill or windmill kit, or using solar power on a larger scale than what we are already using.

We got most of the information on how to do this from How To Build A Wind Turbine, so if you want to try this too, check them out!